INSTALLATION TECHNIQUES
Here are some tips on getting the most out of the Secure Covers system.
When Gravel Bags are used in conjunction with Secure Covers, you're maximising the use of the Secure Covers system.
Secure Gravel Bags are specially designed to compliment the Secure Covers system. Their long cylindrical shape seals the edges of the stack or bunker and any overlaps of Secure Covers, preventing wind from lifting the covers up.
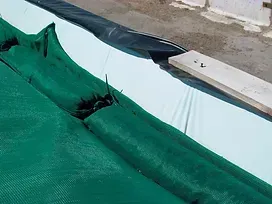
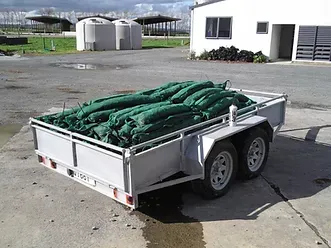
As the Secure Covers are pulled taut over the silage, the Gravel Bags are placed around the edges, holding the covers in place.
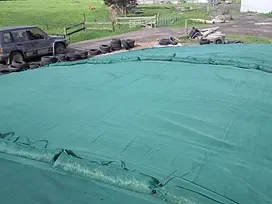
If you are placing multiple covers over your silage, the Gravel Bags run up and over the joins to prevent the wind picking them up.
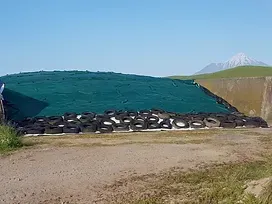
If tyres are used, their circular shape doesn't always ensure an airtight seal. Many customers make use of their excess tyres when they swap over to the complete system, like this farmer.
If you choose to do this, please make sure there are enough tyres, as we cant guarantee the system being airtight.
How to Use Secure Covers
Ensuring you get the most out of your feed.
Preparation
Start with a well-packed, smooth, domed bunker or stack. Low spots and insufficient packing require additional weight on top of the Secure Cover in order to reduce air pockets and spoilage.
Covering
Begin placing cover plastic over your silage (an underlayment product under the cover can also be used). Once enough plastic is pulled for a Secure Cover section, place the Secure Cover section on top. Make sure the plastic is tucked underneath the cover- this will prevent the wind from picking the plastic up and penetrating the silage underneath.
Securing
Pull the Secure Covers and plastic tight. Place Secure Gravel Bags end to end along ALL plastic and Secure Cover seams and around the perimeter, making sure each Secure Cover section is overlapping by about 0.8m
Extra Secure Gravel Bags or weight may need to be placed in any low spots and on the leading edge.
Re-tightening
As your bunker or pile settles, it will be necessary to retighten the covers. This is easily done by walking around the outside edge and pulling up on the Secure Cover edges. The gravel bags will roll into the low spots and settle, keeping it tight.
Feeding out
Fold the Secure Cover sections back as you feed out. Keep a line of gravel bags along the front edge of the bunkers to prevent air from slipping underneath and move them back as you feed from the face. You must keep plastic trimmed back from the face. Not doing so can result in wind lifting the covers and plastic.
Storage
When you are finished with each Secure Cover section, fold and store clean sections out of the sun. Secure Covers come with a 7 year UV protection guarantee, proper storage when not in use will help to ensure your Secure Covers are up to the task, year in, year out.
How to fill the Secure Gravel Bags
Filling Material
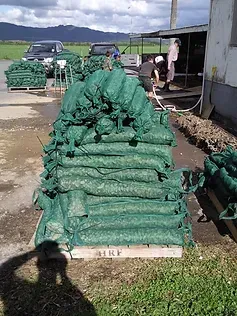
Fill your Secure Gravel Bags with a smooth pebble, approx. 10mm - 20mm in size. Multiply the number of bags you need to fill by 14kgs (approx. weight required per bag) to know how many tonne of pebble you will need.
Filling Material
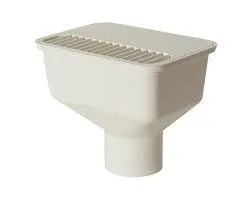
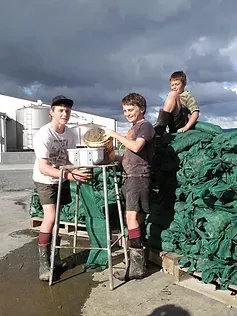
Popular options are: 1) plumbing plastic gully dish fastened to a fence rail or similar; 2) an old traffic cone; 3) make a funnel from flat steel or plastic lying around the farm.
Insert Zip Tie
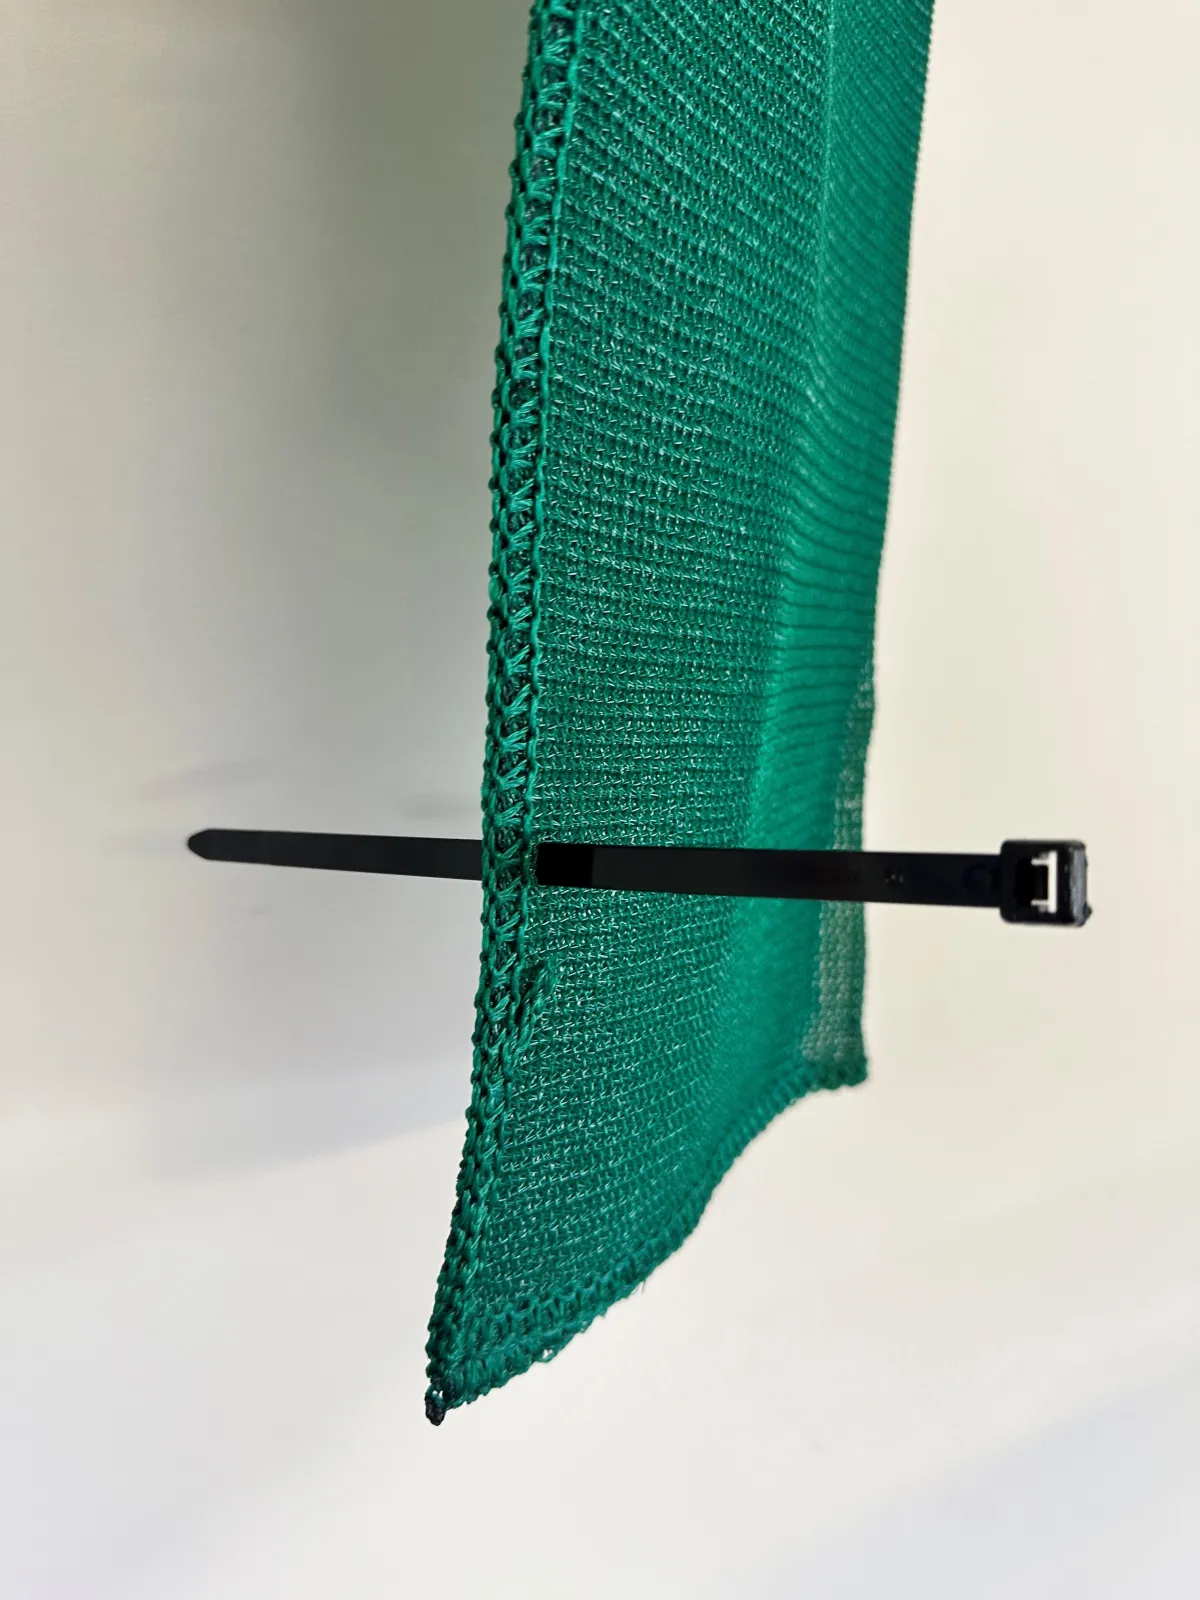
Within every bundle of 20 Gravel Bags are 20 Heavy Duty UV resistant cable ties. Poke a tie through the side of the gravel bag next to the seam & straight back out again approx. 10cm from the top.
Filling Specifications
Each Gravel Bag should be filled to approximately 20cm from the top (10cm below the zip tie). DO NOT fill to the top as this empty space is required so the bags won't burst if dropped.
Tying
Once filled, do up the zip tie by hand only.

Our products are proudly Plasback approved!
You can now recycle your Secure Covers,
Gravel Bags and OXYFLEX.
Contact
Hours: 8:30am - 5pm Monday - Friday
© 2024 Secure Covers NZ. All rights reserved
